We’re all trying to be more productive. So we download new apps, sign up for trials, and hope that the next subscription will finally fix our messy lives.
But did you know the best tools are already sitting on your iPhone?
Apple gives you Notes, Calendar, Reminders, and Freeform. Most people treat them as four separate apps: nice to have, but nothing special. That’s the mistake.
They’re not four apps. They’re one system. Apple built them to work together, quietly and perfectly.
This guide is about using them as a complete setup: a simple, reliable system that works on your iPhone, iPad, and Mac with zero effort.
The trick is to give each app a clear job. The reason most systems fall apart is that question we’ve all asked: “Should this go in Notes or Reminders?”
Let’s stop guessing. Here’s how to think about it:
- Freeform is your idea hub. It’s where you brainstorm and plan.
- Notes is your knowledge hub. It’s your digital brain, where your thoughts, research, and context live.
- Reminders is your action hub. It’s your task list, where things get done.
- Calendar is your time hub. It’s where you decide when things will happen.
First, we’ll master each of these apps. Then we’ll connect them into one smooth, simple system that just works.
Contents
Pillar 1: Notes as Your Central Knowledge Hub
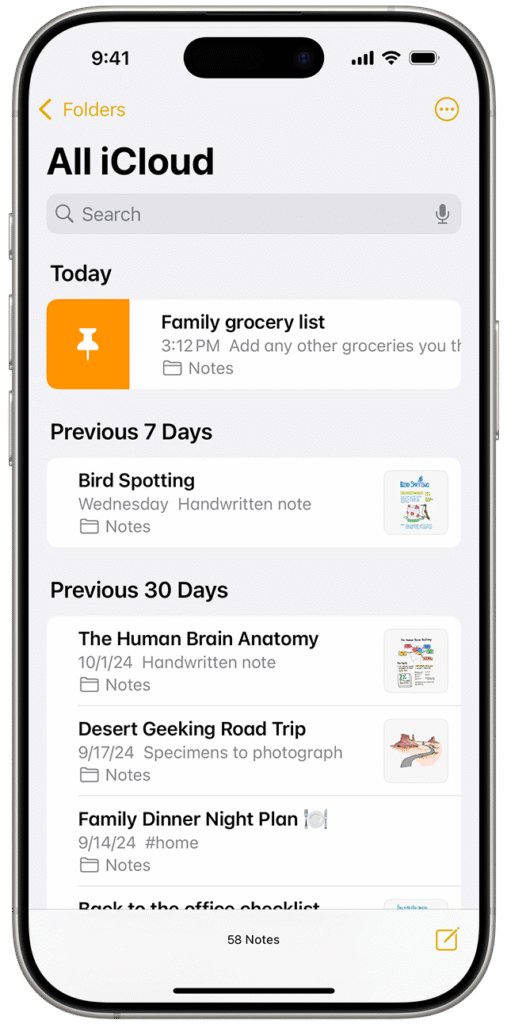
Stop using Apple Notes for tasks. Use it for information. Think of it as your digital filing cabinet, the place where every project detail lives.
Apple has quietly turned Notes into a serious tool. With recent updates, it’s more powerful than ever. You can now record audio right inside a note, and it’ll transcribe as you talk. Perfect for meetings, lectures, or quick thoughts on the go.
You can also make long notes easier to read with Collapsible Sections, headings that fold up when you don’t need to see all the text. Add the new highlight colors to mark key ideas or themes, and your notes start to feel more organized and visual.
Organize Your Digital Brain
Every good filing cabinet needs a system. In Notes, that system is made up of Tags and Smart Folders.
Start by tagging your notes with things like #Work, #ProjectX, or #Ideas. Then, create a Smart Folder that automatically gathers all notes matching certain tags.
For example, you could have a Smart Folder that shows every note tagged with both #Work and #ProjectX. Just like that, you’ve got a live, self-updating project folder.
You can even go paperless. Use the built-in Document Scanner to add receipts, contracts, or handwritten notes directly into Notes.
Pro Tip: If your scanned PDFs suddenly look huge after updating to iOS 18 (some files balloon to 40MB or more), here’s why: the scanner now defaults to Full Color.
Here’s how to fix it:
- Tap the camera icon and choose Scan Documents.
- At the top, tap the filter icon (the three circles).
- Change the filter from Color to Grayscale.
Your scans will appear the same, and your file sizes will return to normal.
Build Your Personal Wiki
Notes now lets you link notes together, which turns your collection into something like a personal wiki or “second brain.”
Pro Tip: To link one note to another, type two greater-than symbols (>>). You’ll see a list of your recent notes. Just select one to create a clickable link.
You can build a Project Dashboard note that links to everything else related to that project, meeting notes, resources, ideas, and more. It becomes your home base for the whole project.
And when you’re working with others, you can share notes for collaboration. It’s perfect for things like trip planning, team checklists, or family projects.
Also Read: AI Billionaire’s Advice to Teens: Start Mastering ‘Vibe Coding’ with These 10 Advanced Prompts
Pillar 2: Reminders as Your Project Management Hub
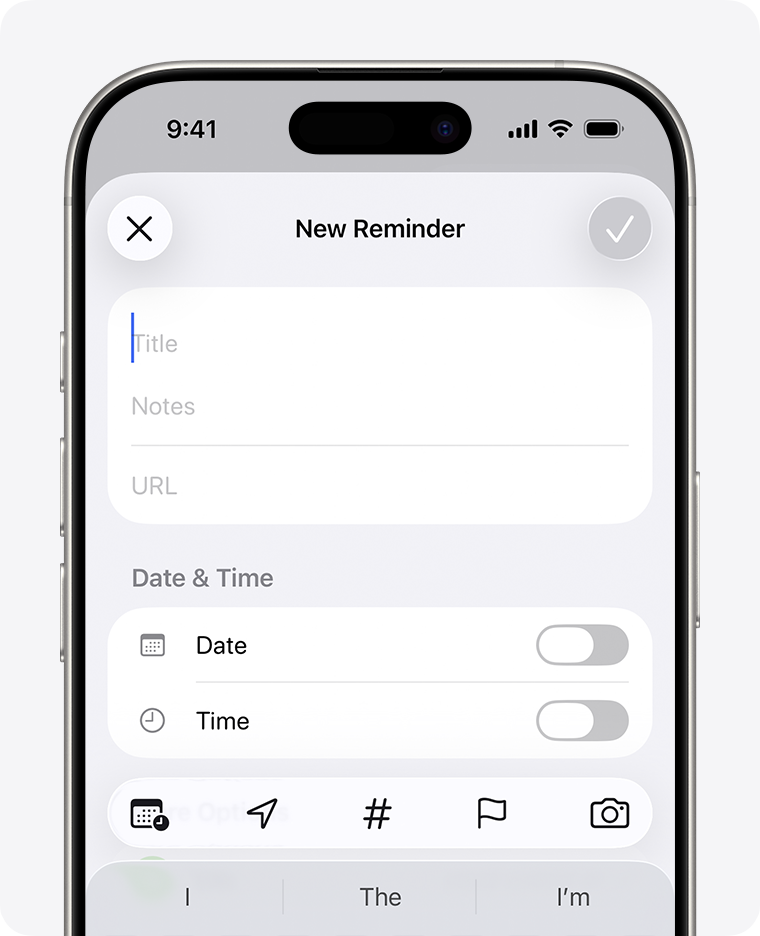
If Notes is where information lives, Reminders is where action happens. Anything you need to do belongs here.
Reminders has grown up. It’s no longer a basic to-do list. It’s a free, powerful project manager that’s quietly replacing apps like Things 3 for a lot of people.
And once you see what it can do, you’ll understand why.
Feature 1: Smart Lists
Smart Lists are the secret sauce. They automatically organize your tasks based on filters you choose.
You can create one right from the main screen. Here are a few examples:
- Today’s Priorities: Tasks where the due date is today and the priority is high.
- Errands: Tasks tagged with #Errands.
You keep adding tasks to your regular lists, and your Smart Lists do the sorting for you. It’s like having your own personal assistant who knows exactly what matters most each day.
Feature 2: Project Management Tools
Reminders now works great for managing real projects.
Inside any list, you can create Sections. For example, To Do, In Progress, and Done.
On your iPad or Mac, switch the view to Columns, and suddenly your list turns into a Kanban board.
It looks and feels a lot like Trello or Asana, but it’s built right into your Apple ecosystem. You can drag and drop tasks between columns and actually see your progress.
Feature 3: Collaboration
You can share any list with your family, friends, or teammates, and even assign tasks to specific people.
It’s perfect for a shared grocery list or a small project at work. Everyone sees updates instantly, and you don’t need a paid account or fancy integration to make it work.
Here’s a quick comparison between Reminders and Things 3:
Feature
Apple Reminders
Things 3
Cost
Free
Paid
Shared Lists
Yes
No
Location Reminders
Yes
No
Siri Integration
Deep, native
Limited
Column (Kanban) View
Yes
No
Smart Lists
Yes (Tags, Date, etc.)
Limited (Filters)
It’s hard to argue with that, especially at zero cost.
The Smart Grocery List
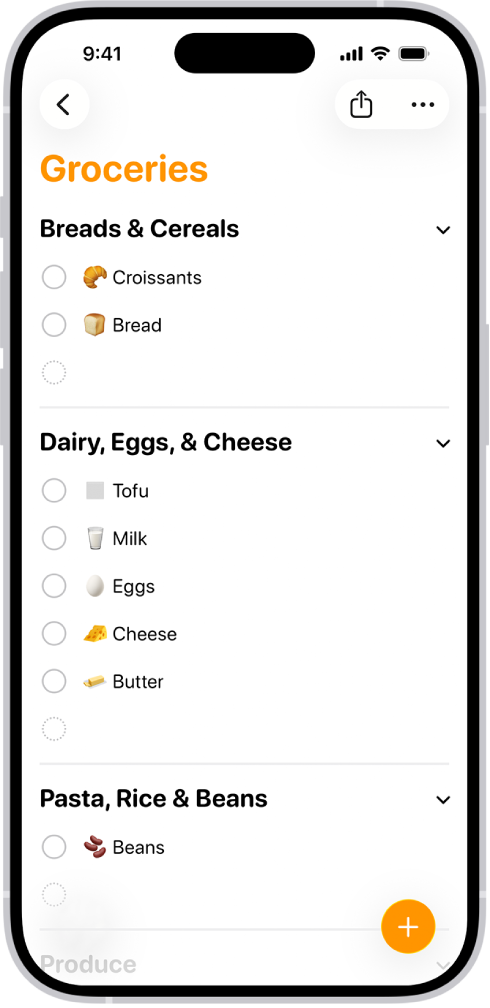
Apple even made a special list type just for groceries.
When you create a new list, choose Groceries as the type. As you add items, Reminders automatically sorts them into store categories.
“Milk” goes under Dairy, “Apples” under Produce, and so on. It saves you from doing laps around the store.
Pillar 3: Calendar as Your Time-Blocking Dashboard
Your Calendar is for your non-negotiable time: meetings, appointments, and focused work sessions. It’s the one place to answer the question, “When?”
Think of your calendar as the map of your day. Notes hold your information, Reminders hold your actions, but the Calendar is where those actions actually happen.
Also See: Perplexity Beginner’s Guide 2025: Get Started with the AI Chatbot and Master It in 10 Minutes Easily
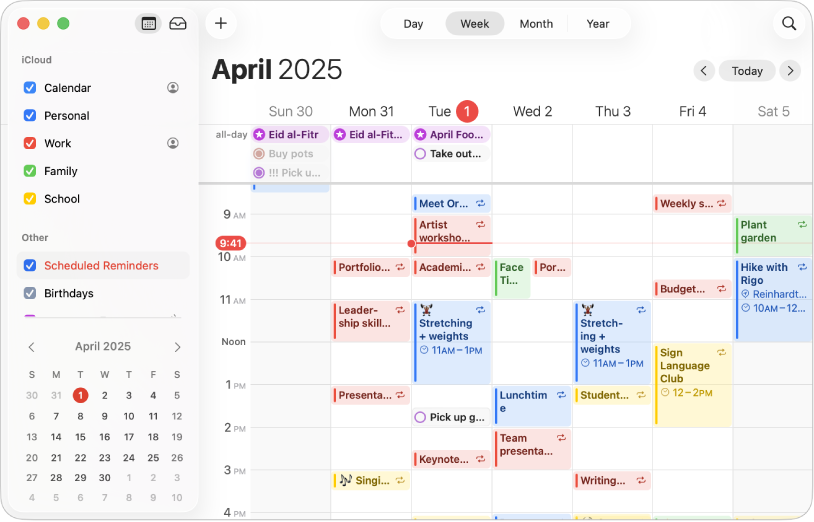
The Unified Agenda
You don’t need to bounce between two apps anymore. You can see your Reminders directly inside your Calendar.
Here’s how to set it up:
- On iPhone or iPad: Open Calendar, tap Calendars at the bottom, and check Scheduled Reminders.
- On Mac: Open Calendar, look in the sidebar, and check Scheduled Reminders.
Now everything shows up in one place. You’ll see your 2 PM meeting from Calendar and your 3 PM task from Reminders, all side by side.
Even better, you can tap the circle next to a reminder and mark it complete right from your Calendar. No app switching needed.
Intelligent Scheduling
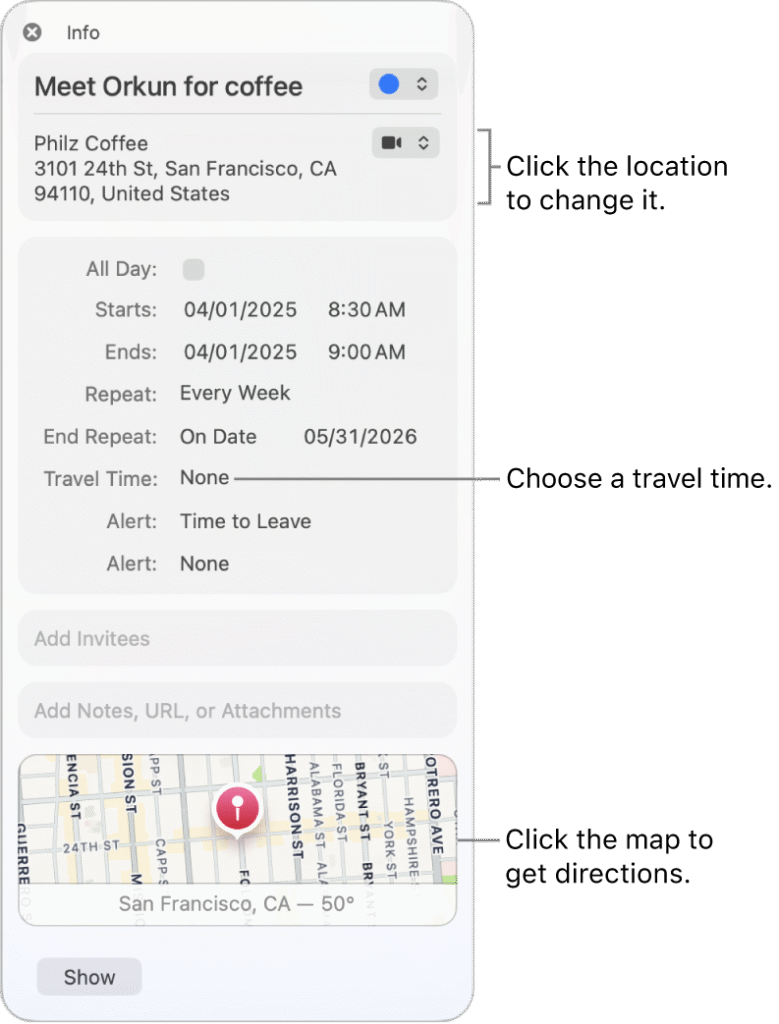
Apple built in two time-related features that people often mix up: Travel Time and Time to Leave. They sound similar, but they do different things.
- Travel Time is manual. You add it to an event yourself.
For example, if your meeting starts at 10 AM, you can add 30 minutes of travel time. Your calendar will show a block from 9:30 to 10:00, so you don’t accidentally double-book yourself.
- Time to Leave is automatic. If your event has a location, your iPhone checks live traffic and sends you a notification when it’s actually time to go.
Pro Tip: Use both. Add Travel Time so your schedule stays accurate, and rely on Time to Leave to make sure you get out the door on time.
Pillar 4: Freeform as Your Collaborative Idea Space
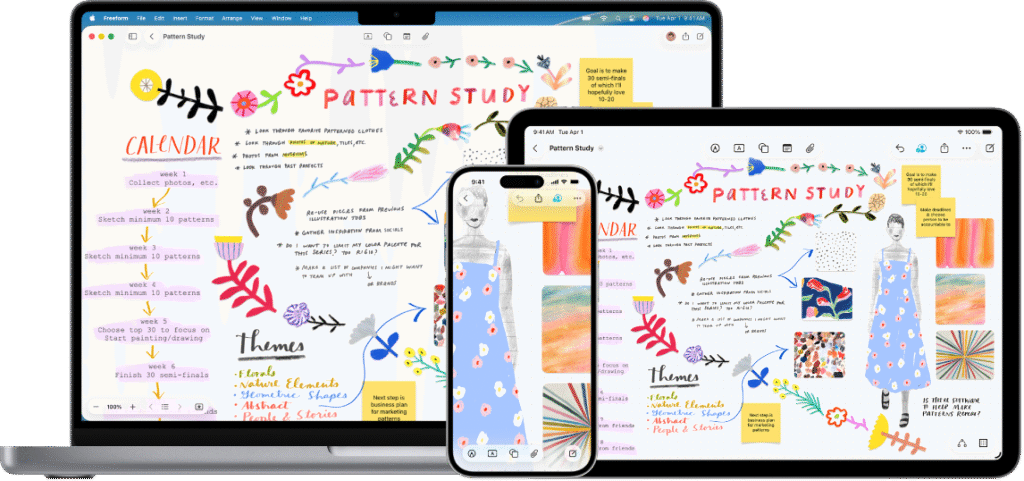
Freeform is the newest member of Apple’s productivity family, the creative whiteboard where your ideas come to life.
Think of it as an infinite digital canvas. It’s the place to brainstorm, sketch out thoughts, map ideas, and see the big picture before anything gets locked into tasks or schedules.
You can start with a central idea and build a mind map, branch by branch. Or use it to create mood boards, flow charts, or even Kanban boards for your projects.
However you think best, visually, spatially, or with quick notes, Freeform adapts to you.
Your Visual Project Hub
Freeform works like a creative playground. You can drag almost anything onto a board:
- Photos, screenshots, and PDFs
- Sticky notes for quick thoughts or ideas
- Files and documents
- Web links straight from Safari
- Even emails from Apple Mail
It’s the perfect space for early-stage thinking, the messy part of every project that’s too visual or unstructured for Notes or Reminders.
Also See: 10 Advanced Tips to Master ChatGPT in Your Daily Life (Become a Pro in Just 10 Minutes)
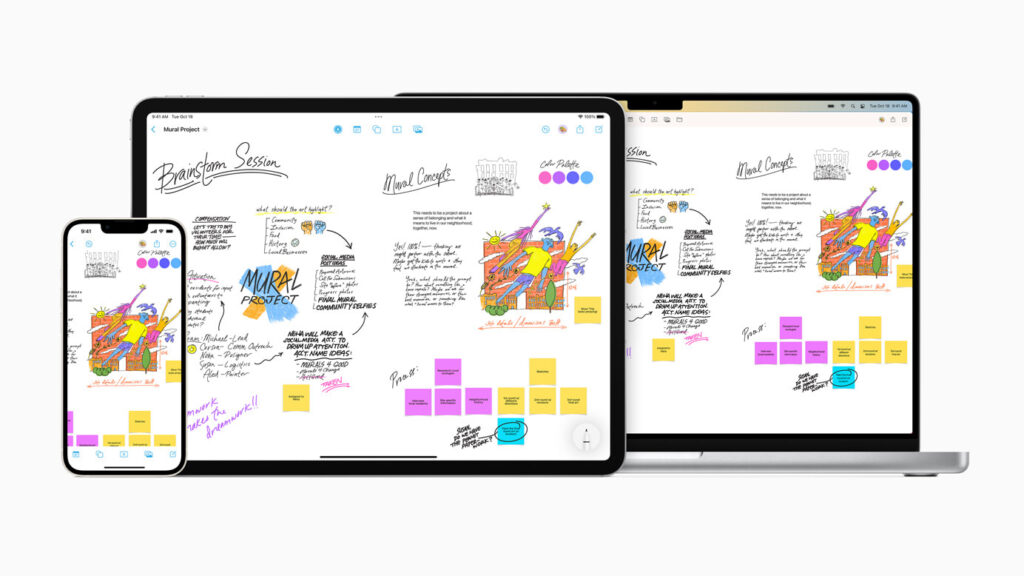
Collaboration Without the Chaos
Freeform’s real superpower is real-time collaboration. You can share a board with up to 100 people, and everyone can add or move items at the same time. It’s like standing around the same whiteboard, even if everyone’s working remotely.
And if you need to talk things through, you can start a FaceTime call right from the board. You stay connected without leaving your workspace.
How to Connect Your Four Pillars
Now that you’ve built your four pillars: Freeform for ideas, Notes for knowledge, Reminders for tasks, and Calendar for time, it’s time to make them work together. This is the magic that turns separate apps into a complete Apple productivity suite.
The secret? Two simple connectors: Handoff and the Share Menu. Handoff lets you start work on one device and pick it up on another without missing a beat. The Share button is your glue, letting content flow naturally between apps.
Here are the three most important workflows to get everything talking to each other.
Workflow 1: The Context Link (Notes → Calendar)
Problem: You have a 10 AM meeting in Calendar, but all your meeting notes live in Notes. How do you keep them connected?
How-To:
- Open your note in Apple Notes.
- Tap the Share button.
- Choose “Collaborate” and then “Copy Link.”
- Open Calendar and find your 10 AM event.
- Tap “Edit” and paste the link into the Notes or URL field.
Result: At 9:59 AM, you open your Calendar, tap the link, and your meeting notes pop up instantly. No hunting, no confusion.
Workflow 2: The Action Link (Notes → Reminders)
Problem: Your meeting ends, and your note is full of actionable items. How do they get into your task list?
Method A: Send the Whole Note
- Open your note.
- Tap Share → “Send Copy.”
- Select the Reminders app.
Your new task shows a small Notes icon. Tap it, and you jump right back to the full note.
Method B: Send Selected Text
- Highlight a single action item.
- Tap the arrow → Share → Reminders.
This creates a task with just that line.
Pro Tip: Always use “Send Copy,” not “Collaborate,” for tasks. Note links with images may not always work perfectly.
Workflow 3: The Inbox Link (Mail → Reminders)
Problem: You get an email you need to act on, but not right away.
How-To:
- Open the email in Apple Mail.
- Activate Siri and say, “Remind me about this.”
Result: Siri creates a Reminders task with a direct link to the email. You can do the same for Safari webpages, too.
A Real-World Project Workflow
Let’s see how it all comes together. Here’s a simple example of how to combine Apple Notes, Calendar, Reminders & Freeform for the complete Apple productivity suite.
The Project: Planning a Team Offsite
Step 1: Ideation (Freeform)
Start with a new Freeform board called “Team Offsite.” Invite your team to collaborate. Everyone brainstorms ideas for locations, activities, and schedules. Create a mind map, a mood board, or just jot ideas down. This is your creative playground.
Step 2: Research (Notes)
Next, move your ideas into Apple Notes. Create a note called “Offsite Research.” Collect venue options, add web links, photos, and scanned price quotes using the Document Scanner.
Then, make a central “Offsite Dashboard” note and link to your research notes using the >> shortcut.
Now all your information lives in one organized hub.
Step 3: Action (Reminders)
Time to turn ideas into tasks. From your “Offsite Research” note, tap Share → Send Copy → Reminders.
A new task called “Book Venue” appears in your Reminders list, with a link back to all your research.
Add other tasks like “Send invites” or “Order catering,” and assign tasks to teammates if needed. Your project is now actionable.
Step 4: Scheduling (Calendar)
Open Apple Calendar. Your new tasks from Reminders show up right on your day. Time-block them. Drag “Book Venue” into a 30-minute slot on Tuesday at 2 PM.
For the offsite event itself, paste the link to your main “Offsite Research” note into the URL field. Now your schedule is connected to all your contexts.
Result:
Your ideas (Freeform), research (Notes), tasks (Reminders), and schedule (Calendar) are all in sync. Nothing is lost, nothing is floating around. You’ve just used the entire Apple productivity suite as one seamless system.
The Power of the Default
The best productivity system doesn’t need to be flashy. It’s the one you always have with you.
Apple has spent years building this. With the recent updates, it’s stronger than ever. You don’t need to chase expensive apps or the next big thing.
You can combine Apple Notes, Calendar, Reminders & Freeform for the complete Apple productivity suite right now, without spending a cent.
Learning to use this system is what makes it powerful. Once you do, everything clicks. Your ideas, your research, your tasks, and your schedule all work together!