Hey there, crafty quilters and DIY sewists! So you’ve picked out the cutest fabrics and meticulously pieced them together, and now you’re staring down the barrel of quilting that precious little baby quilt.
But perhaps free-motion quilting feels a bit too fancy (or scary) – so what now?
Well… you’ve landed in the right spot because we’re here to tell you all about using a trusty walking foot, especially if you’re new to quilting the top layer or just want something quick and easy.
Our guide covers ten ways to quilt a baby quilt with a walking foot, perfect for novices and pros alike!
Now, if you’re scratching your head wondering what in the world a walking foot is, don’t worry, we’ll get to that in a sec too. But let us tell you, it’s about to become your new best bud in the quilting game.
Contents
- 1 For the First Timers: What Exactly is a Walking Foot?
- 2 10 Simple Ways to Quilt a Baby Quilt with a Walking Foot
- 3 Sewing Dreams Come True!
For the First Timers: What Exactly is a Walking Foot?
Let’s pretend you’re quilting along, and your fabric layers seem to be shifting and bunching up like a stubborn cat refusing to move off your window porch.
Pretty much every quilter can relate to this nuisance (it’d be hard to believe if you don’t agree!).
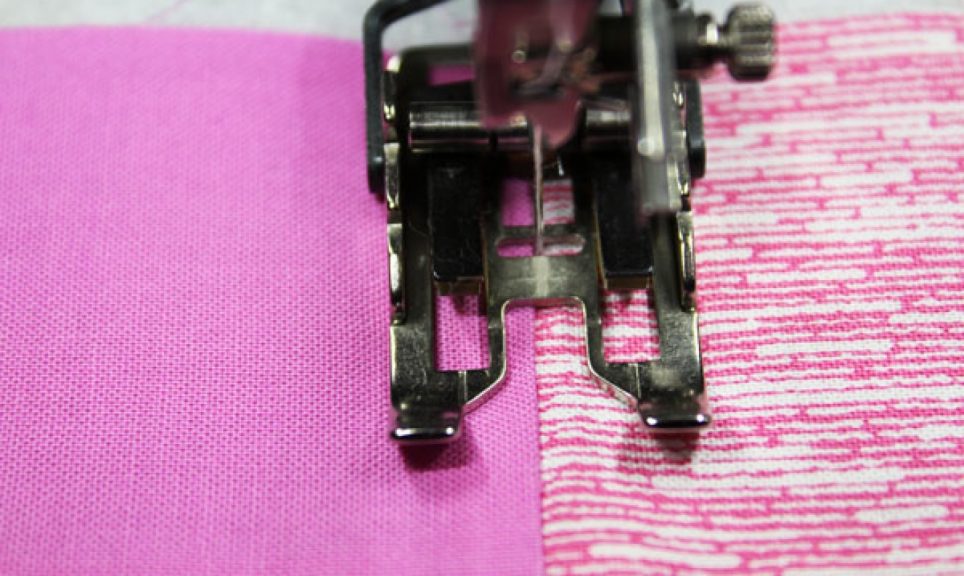
A walking foot is this handy attachment for your sewing machine that helps feed your fabric through evenly, preventing any of that pesky shifting and bunching.
It’s a game-changer for those who’ve stuck around with traditional hand quilting for a long time.
10 Simple Ways to Quilt a Baby Quilt with a Walking Foot
Here are ten fantastic quilting ideas that you can tackle with your walking foot, creating a stunning and cuddly quilt for that little one.
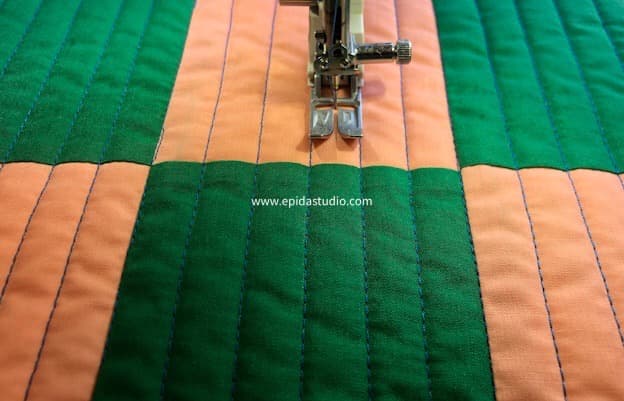
1. Straight Lines
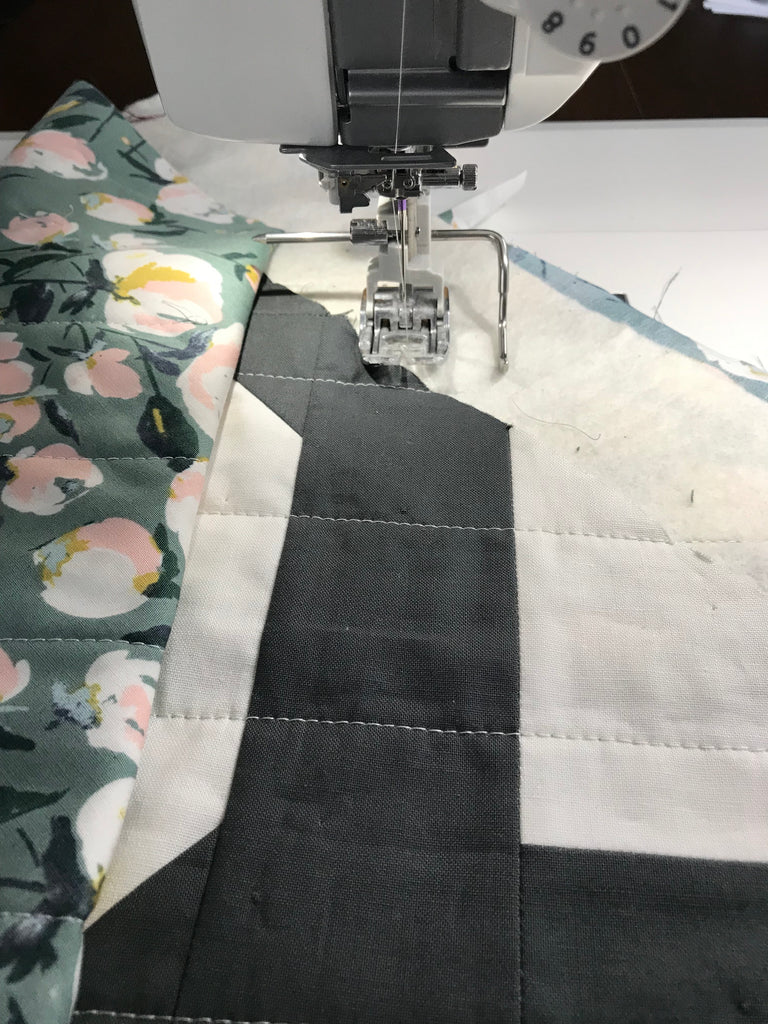
Let’s start with the basics. Straight-line quilting is essentially the bread and butter of quilting techniques.
You can effortlessly stitch straight lines across your quilt top with your walking foot, creating a classic, timeless look. Plus, it’s perfect for beginners!
How to do it
Attach the walking foot to your sewing machine, select a straight stitch, and start quilting parallel lines across.
Use a quilting guide or masking tape to maintain even gaps between the lines.
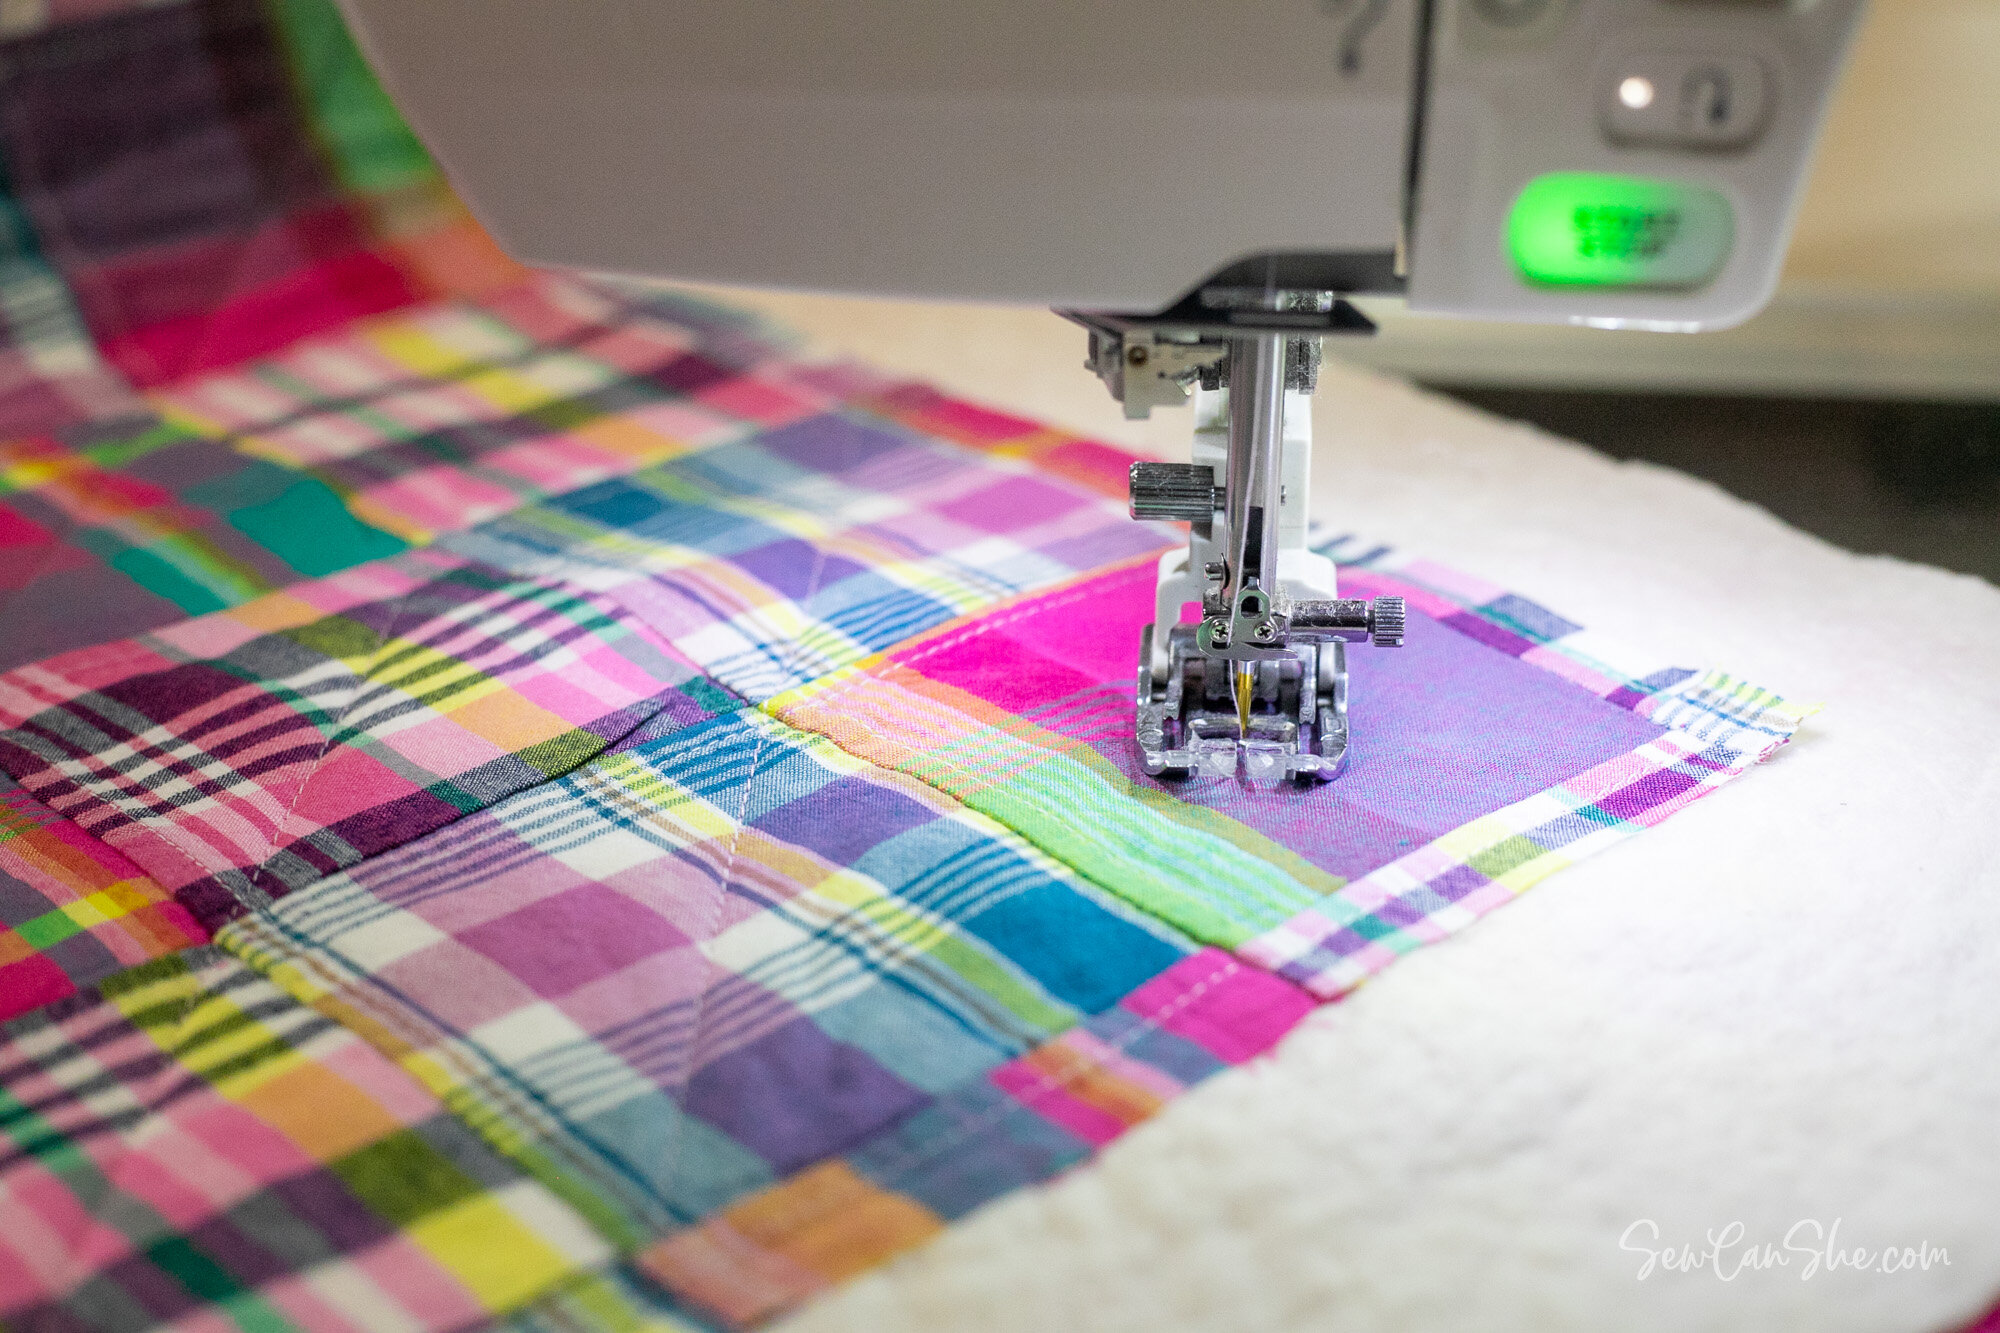
2. Stitch in the Ditch
No, we’re not talking about some secret alleyway rendezvous. Stitching in the ditch simply means quilting right along the seams of your quilt blocks.
It’s one of the best ways to secure the layers together while keeping the focus on your beautiful patchwork.
How to do it
With your walking foot attached, stitch right along the seams of your quilt blocks or borders. Besides securing the layers, it’ll keep your quilting stitches subtle.
3. Wavy Lines
Channel the ocean’s gentle rhythm with calming, curved lines that travel across the quilt top.
It’s surprisingly easy despite how complex it may look. And besides, who says quilting has to be all straight lines and right angles?
How to do it
Set your walking foot to a gentle curve and quilt wavy lines across your quilt. Vary the direction and spacing of your waves to achieve a more natural, dynamic look.
Also, Check: 20 Traditional Quilt Patterns to Inspire Your Next Project
4. Grid

If you’re all about minimalism, grid quilting might be right up your alley. A walking foot makes it easy to quilt evenly spaced horizontal and vertical lines to create clean and beautiful grid patterns.
Whether you opt for a tight grid or a more spaced-out design, the possibilities are endless!
How to do it
Start by quilting the lines in one direction, then rotate your quilt and quilt the lines in the other direction to form a grid.
Check Out: 20 Flying Geese Quilt Patterns
5. Chevron
Want something a bit more modern on your baby quilt? Chevron lines, with their cool zig-zag pattern, are quite straightforward to quilt with a walking foot.
By quilting diagonal lines in alternating directions, you can achieve a trendy chevron pattern that’ll have everyone oohing and aahing.
How to do it
Quilt diagonal lines across your quilt top, alternating the direction of your lines to create a chevron stitch design.
Masking tape or a quilting ruler is a must-have for evenly spaced and angled lines.
6. Spiral

If you’re ready to take your quilting skills to the next level, spiral quilting is where it’s at.
Requiring some advanced techniques alongside a walking foot, you can quilt a mesmerising spiral design that’ll make your baby quilt the envy of all the other moms at the playgroup.
How to do it
Starting from the centre of your quilt, quilt a spiral design outward using your walking foot as a guide. Take your time and adjust the speed to maintain even spacing between each spiral loop.
See: 25 Star Quilt Patterns to Light Up Your Space
7. Matchstick Lines
Take straight lines up a notch with matchstick quilting! It involves quilting super narrow lines spaced closely together, resembling the thickness of matchsticks. It creates a neat textured effect that adds visual interest.
How to do it
Attach your walking foot and set your sewing machine to a straight stitch—quilt parallel lines across your quilt top, spacing them about ⅛ to ¼ inch apart.
Take your time and stitch slowly to maintain even spacing and prevent puckering. Feel free to vary the direction of your matchstick lines or quilt them in a random pattern!
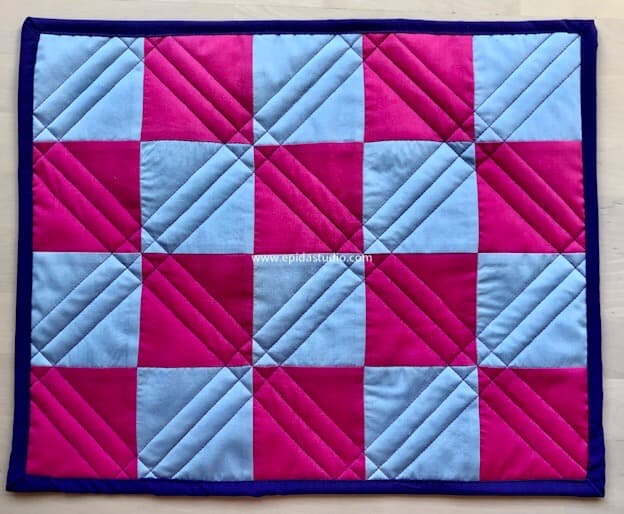
8. Cross-Hatch
For a bit more complexity, try crisscrossing your straight lines. It creates a grid-like pattern similar to a wicker basket or lattice, giving your baby quilts a classic, timeless appearance.
The textured weave looks both simple and striking.
Even better, you can add another layer of cross-hatching lines in a different colour thread for an extra pop!
How to do it
Assuming you’ve attached the walking foot, start quilting diagonal lines in one direction across your quilt top, ensuring they’re spaced evenly apart.
Then rotate your quilt and quilt lines in the opposite direction to form a cross-hatch pattern. Again, we’d recommend using a quilting ruler for consistency.
9. Diagonal Lines
Love stripes? Quilt straight lines diagonally from one corner to the other to create a sense of flow.
Try stitching double lines running in parallel directions for an even bolder look!
How to do it
With your sewing machine set to a straight stitch and the walking foot attached, quilt diagonal lines across the quilt top.
Masking tape is necessary if you want the lines to maintain proper spacing.
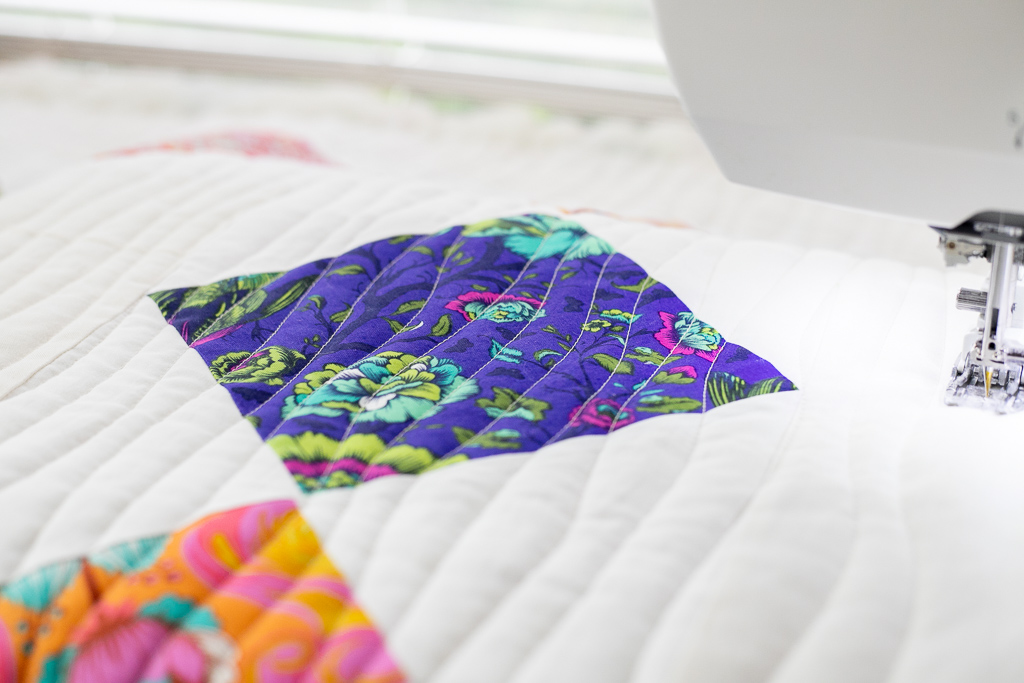
10. Echo
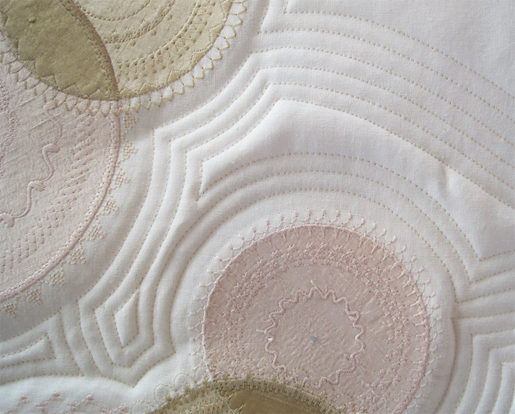
Create a cool echoing effect by quilting parallel lines around your quilt blocks or motifs.
A hallmark of traditional Hawaiian quilts, It’s perfect for giving appliqués on your baby quilts a pop.
How to do it
Choose a motif or shape on your quilt top and quilt parallel lines around it, following its contours.
Gradually increase the distance between each line to achieve the signature echo effect.
Sewing Dreams Come True!
And that’s a wrap, folks – ten ingenious ways to quilt a baby quilt with a walking foot. Armed with this handy how-to guide, you’re ready to take your baby quilt from a pieced top to a beautifully finished masterpiece that’s as adorable as it’s functional.
Of course, practice makes perfect, so be sure to grab some scrap fabric and experiment before working on your precious baby quilt.
But hey, before you click away, we’d love to see those cute quilts come to life.
Share your thoughts, experiences, or even pics of your creations on social media. Who knows, maybe you’ll inspire someone else to pick up their walking foot and get stitching!